We show you how to change the size of the slots in Mugen, to be able to add more slots, rows and/or columns. With this you can display more characters by increasing the space in the character selection screen.
Let’s try adding slots for 570 characters in the character selection screen. After you read the whole tutorial you can add less or even more characters and slots if you like. Anyway at the end we leave the file for you to download with the modifications made, ready to paste in the folder and use it.
Steps to change the slot size
- Enter the game folder, go into the folder called “data” and then inside the folder “mugen1“.
- Inside look for the file called system.def
- Create a copy of the system.def file to have it as a backup in case something goes wrong.
- Then open the system.def with any text editor such as notepad for example.
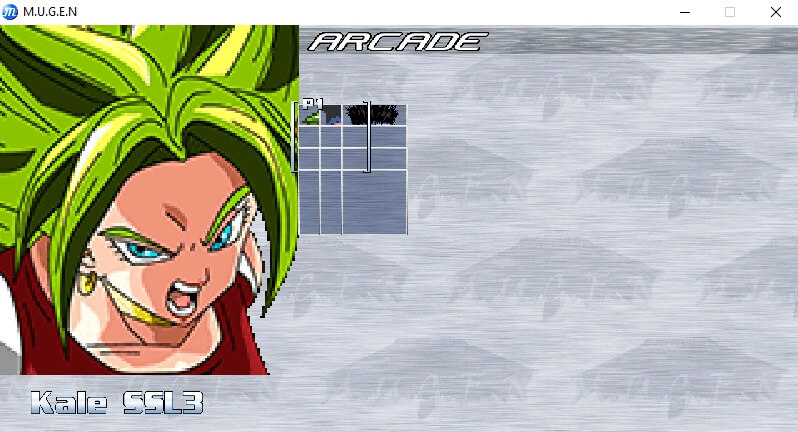
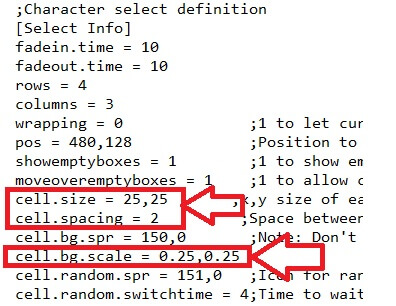
- Find the line where it says [Select Info] which is where you can find the number of rows, columns and other options of the character selection screen.

- Now you must add some lines that indicate the size scales of the slots and the images of the characters to accommodate them in the desired size.
- In the line cell.size = 100,100 indicates the size of the slots, therefore it can be increased or decreased, in this case it will be decreased for example to cell.size = 25,25 and it will look like this:
- Now modify the line cell.spacing = 10 that indicates the spacing of each cell, we place the value cell.spacing = 2.
- Under the line that indicates cell.bg.spr = 150,0 we are going to write the following cell.bg.scale = 0.25,0.25 this to change the scale of the size of the file should be like this:
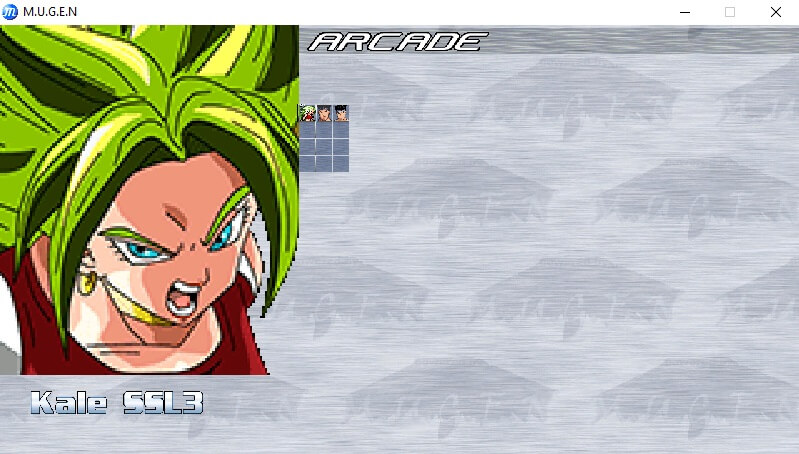
- And it will look as follows:

- The cells look smaller but the images are very large.
- Now we continue adding the lines with the following options and locations to accommodate the size:
- Under cell.random.switchtime = 4 we have to add the new line indicating cell.random.scale = 0.25,0.25 as in the previous step.
- Under p1.cursor.active.anim = 160 we add the new line p1.cursor.active.scale = 0.25,0.25
- Under p1.cursor.done.spr = 161,0 we add the new line p1.cursor.done.scale = 0.25,0.25
- Under p2.cursor.active.anim = 170 we add the new line p2.cursor.active.scale = 0.25,0.25
- Under p2.cursor.done.spr = 171,0 add new line p2.cursor.done.scale = 0.25,0.25
- Below portrait.offset = 0,0 we add the new line portrait.scale = 0.25,0.25
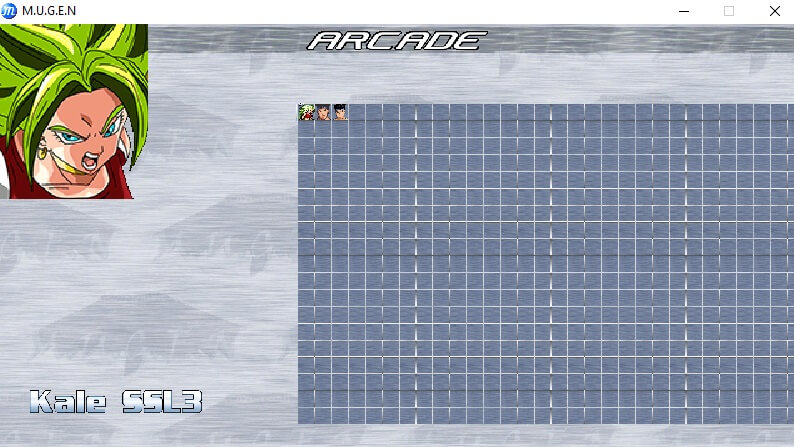
- Now it will look like this:
- You can see the images arranged in the slots and they are smaller in size, so you can add more rows and columns to place more characters.
- To change the image size of the selected character you must add:
- Modify the line p1.face.offset = 1,1 we add the value p1.face.scale = 0.5,0.5
- Modify the other line p2.face.scale = 1,1 add the value p2.face.scale = 0.5,0.5
- It will look like this:

- The image is displayed smaller, now if you want to add more columns and rows you can do it without cutting them on the screen for example about 19 rows and 30 columns (if you do not know how to change the rows and columns you can see the previous tutorial ).
- It would look like this:
- As you can see it is displayed very far to the right and the slots are cut off on the screen. You have to center the boxes by modifying the line pos = 480,128 and change the values to pos = 240,50.
- And it will look like this:

- As you can see the boxes are shown centered and do not cover the image of the second player selected or the names underneath.
- This way we add 19 rows and 30 columns which is 19×30 = 570 slots for 570 characters.
You have already seen how to add 500 characters in mugen easily with our tutorial. You just need to place the characters. You can see our other tutorial on how to add characters in mugen.
Remember that the values we use in the options you can change them to your liking and try different values to get custom sizes as you want and add more or less characters.
Here you have the button to download the file with the modifications made, if you like you only have to paste it in the mugen1 folder replacing the one you have.